


Best Upgrades for Prebuilt Gaming Computer: Top Gaming PCS for Peak Performance
Want a smoother gameplay, faster load times, and richer visuals without buying a new rig? What are the best upgrades for prebuilt gaming computer while keeping spending sensible? Ginger6 has helped UK players tune thousands of systems, so the guidance below focuses on gains you can feel in day-to-day use.
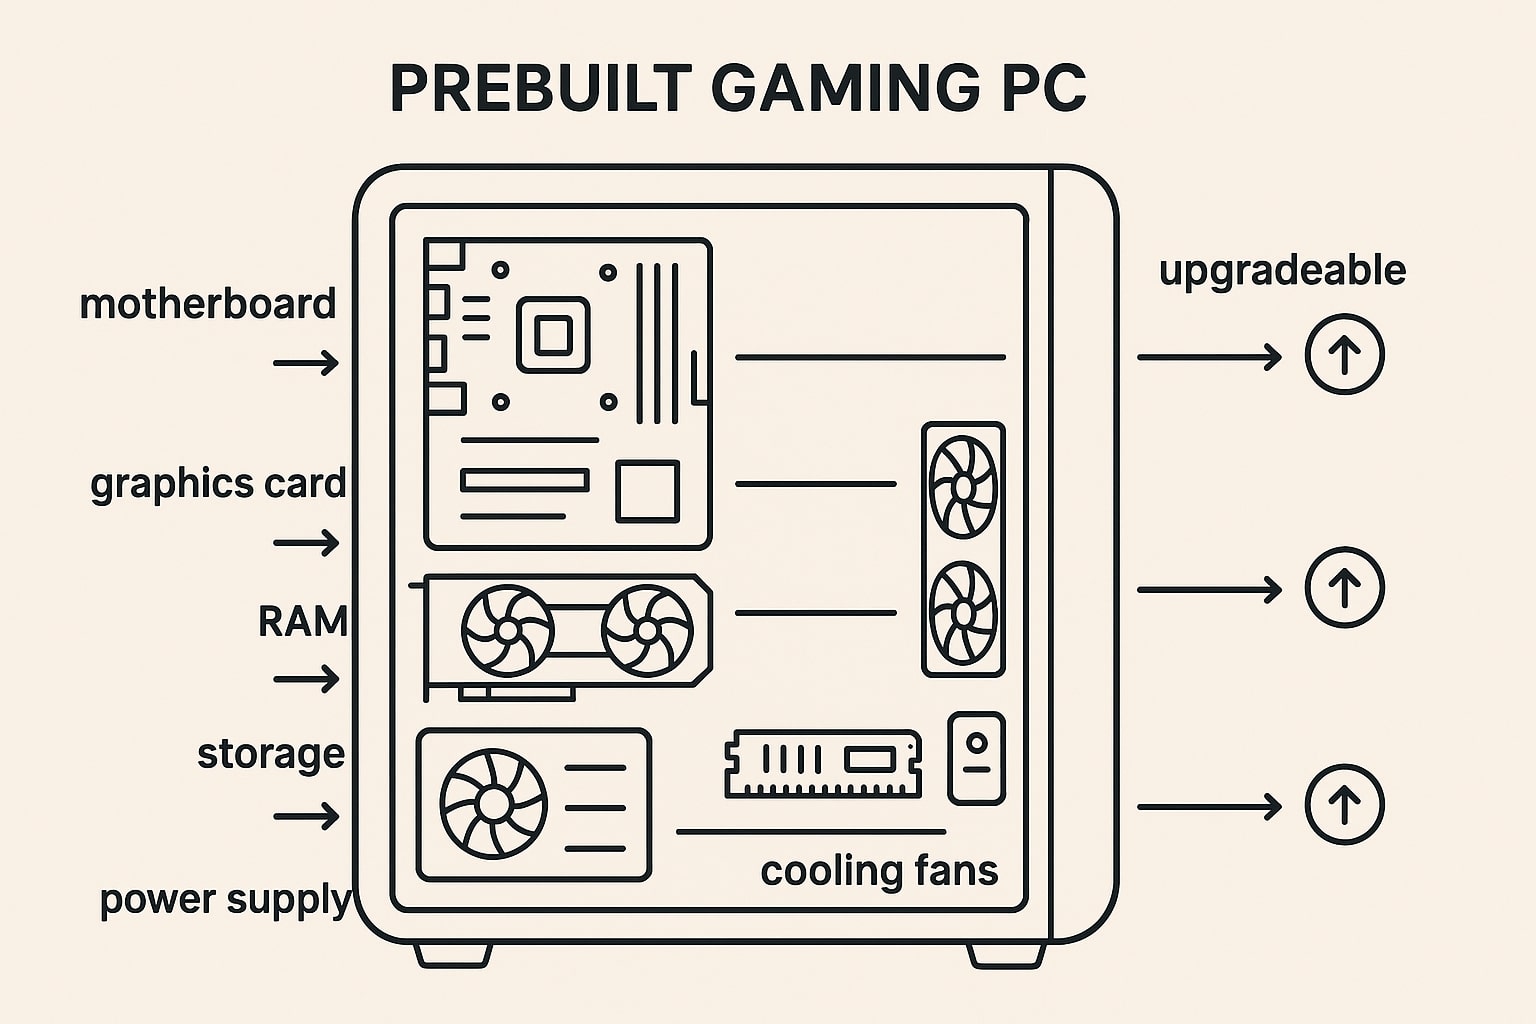
Understanding the Upgrade Potential of Your Prebuilt Gaming PC
If you own a prebuilt gaming computer, you might be wondering just how much performance you can unlock through upgrades. The best upgrades for prebuilt gaming computer systems aren’t just about slapping in new parts, they require a careful approach to ensure compatibility, maximum value, and reliability.
Every gaming PC has unique limitations and opportunities based on its original components and design. By understanding your system’s layout and specifications, you’ll be better placed to select upgrades that genuinely boost your gaming experience. We’ll walk you through practical ways to review your current setup and help you make smart upgrade choices, ensuring that your investment really pays off in everyday use.
Before You Start: Check Compatibility
A short audit saves time and money. Note the exact motherboard model, current memory type and speed, graphics card, storage layout, case dimensions, and power supply wattage. Confirm spare slots and bays, along with connector types. Open the case and measure the space around the graphics area and the drive cage. Many modern cards are long and thick, and some cases have limited clearance.
Look up the motherboard manual to see supported memory speeds and limits, available M.2 sockets for NVMe drives, and the chipset and BIOS version. Check the power supply label for wattage and the number of PCIe power connectors. If in doubt, speak to a Ginger6 technician for a quick sense check so you only buy parts that fit and work together, and so your warranty and support stay straightforward.
The Biggest Win for Frame Rates: The Graphics Card
For most players, the graphics card upgrade delivers the most visible jump in their gaming pcs. If your card is two or more generations old, a current mid-tier model can outperform yesterday’s flagship while using less power and making less noise.
What to check
-
Physical fit. Measure length and thickness. Make sure nearby cables and drive cages leave room for airflow.
-
Power. Confirm your supply has the right connectors and enough headroom.
-
Balance with the processor. Pairing a very fast card with a very old processor can limit gains. If your built processor is several generations behind, plan a processor upgrade later.
Look for features that extend the life of your purchase, such as frame generation and modern upscaling. They can lift performance in new titles without dropping settings.
Gaming Computer Memory That Matches How You Play
Many prebuilts ship with 8 GB, which is tight for modern games, voice chat, and a browser in the background. Moving to 16 GB is a sensible baseline, and 32 GB helps with streaming or content creation.
Tips for a smooth upgrade
-
Use matched sticks to keep dual-channel performance.
-
Choose the speed your board supports without heavy tuning.
-
Enable the profile in BIOS so the memory runs at the rated speed.
-
Aim for two sticks rather than four when possible to keep future upgrade paths open.
The result is fewer stutters, quicker tab switching and a generally snappier feel across Windows.
Storage That Keeps Built PCs Feeling Fast
If you still boot from a hard drive, moving Windows and your favourite games to an SSD makes the whole PC feel new. An NVMe drive in an M.2 slot offers the fastest reads and writes. A SATA SSD is still a great step up if your board lacks NVMe.
Practical setup
-
Use a 1 TB or 2 TB NVMe drive for the operating system and live games.
-
Keep a larger hard drive for screenshots, recordings and a growing library.
-
Clone your existing system or start fresh for the best stability.
Expect quick boots, instant level loads, and snappier updates.
When a Processor Swap Makes Sense
If your graphics card sits idle in demanding games or you play titles that love fast single-core speed, a processor upgrade may help. First, check chipset support and BIOS requirements. Sometimes a simple BIOS update unlocks support for newer chips.
If your board is at the limit, consider a planned two-step path. Start with graphics, memory, and storage for immediate gains, then move to a new board and processor later. This spreads the cost while keeping your system usable throughout.
Power Supply and Airflow: Quiet, Cool, and Stable
A reliable supply with the right connectors keeps new hardware safe. Aim for quality from a known brand and leave wattage headroom above peak draw. Check cable reach and tidy routing to improve airflow.
Add case fans if you have spare mounts. A balanced intake and exhaust keep components cool and reduces noise under load. Replace old thermal paste when you fit a new cooler or card. Clean dust filters every few months.
Quick Wins on the Software Side
Small tweaks stack up.
-
Update graphics drivers and your motherboard chipset driver.
-
Turn on Game Mode in Windows and close heavy background apps.
-
Set your monitor to its native refresh rate.
-
Adjust per game settings. A few sliders give big gains with little visual loss, for example, shadows and ambient occlusion.
-
Keep firmware current for the motherboard and SSD.
Stretching Your Budget Wisely
Plan around your biggest bottleneck. If frame rates are low, start with the graphics card. If the system feels sluggish everywhere, move the operating system to NVMe and add memory. Buying last-generation parts can deliver strong value, as prices often drop when a new range launches. Choose trusted brands and avoid mixing odd memory kits.
Upgrading in stages is a sensible way to manage spending. Many players go storage and memory first, then graphics, then board and processor. Ginger6 can advise on parts and fitment, and can also build a custom PC if your current case or board limits your path.
How Ginger6 Supports Your Upgrade Path
Ginger6 builds and ships within the UK with fast delivery. Every custom PC includes a three-year warranty as standard and lifetime support from technicians who build systems every day, so you get practical help rather than a call centre script. Systems are thoroughly tested before dispatch, so new hardware arrives ready for play. If your prebuilt reaches a dead end, the team can configure a fresh build around your goals and budget, and advise on trade-ups or reuse of parts where sensible.
Suggested Upgrade Paths for Built Gaming PCs
Quick uplift for older prebuilts
-
1 TB NVMe as the boot drive
-
16 GB matched memory kit
-
Fresh thermal paste and a case clean
Balanced gaming path
-
New mid-tier graphics card that fits your case and power supply
-
32 GB memory if you stream or create
-
Extra case fan for airflow
High refresh monitor focus
-
A graphics card with strong performance in your favourite esports titles
-
Settings tuned for maximum and stable frames
-
Consider a modest processor bump if usage is near one hundred percent during matches
Find Out about the Best Gaming PCs
Are you a PC gamer? Tell us what you play, the resolution and refresh rate you target, and your current parts.
The Ginger6 custom PC builder team will recommend upgrades that fit your case, power supply, and budget, then help you install with confidence. You get real performance gains without replacing the whole system.