


How to Build a Custom Gaming PC: Step-by-Step Guide
Prefer an expert to handle it? Our custom PC builder will spec, build and test your custom gaming PC for you.
Building a Custom Gaming PC opens the door to a truly personalised gaming experience, offering complete control over performance and style. Whether you’re aiming for peak frame rates, future-ready upgrades, or a specific aesthetic, constructing your own machine allows you to hand-pick every component. At Ginger6, we combine our 22+ years of expertise with high-quality hardware to guide enthusiasts and newcomers alike through every stage of PC construction, ensuring reliable results and exceptional performance in every build.
Preparing to Build PCs: Tools and Workspace Setup
Before you build PCs at home, setting up the right workspace and gathering all necessary tools can make the difference between a smooth process and stressful troubleshooting. Ginger6, with over 22 years of experience building pcs, understands the importance of preparation. By ensuring you have a clear, organised area and the correct equipment on hand, you’ll reduce the risks of losing components or causing accidental damage. Whether you’re a first-time builder or looking to upgrade your pc, preparation is the first step towards achieving high-performance pcs that meet your gaming demands. This foundation is what sets up all pcs for long-term reliability.
Tips for a Smooth PC Assembly Experience at Home
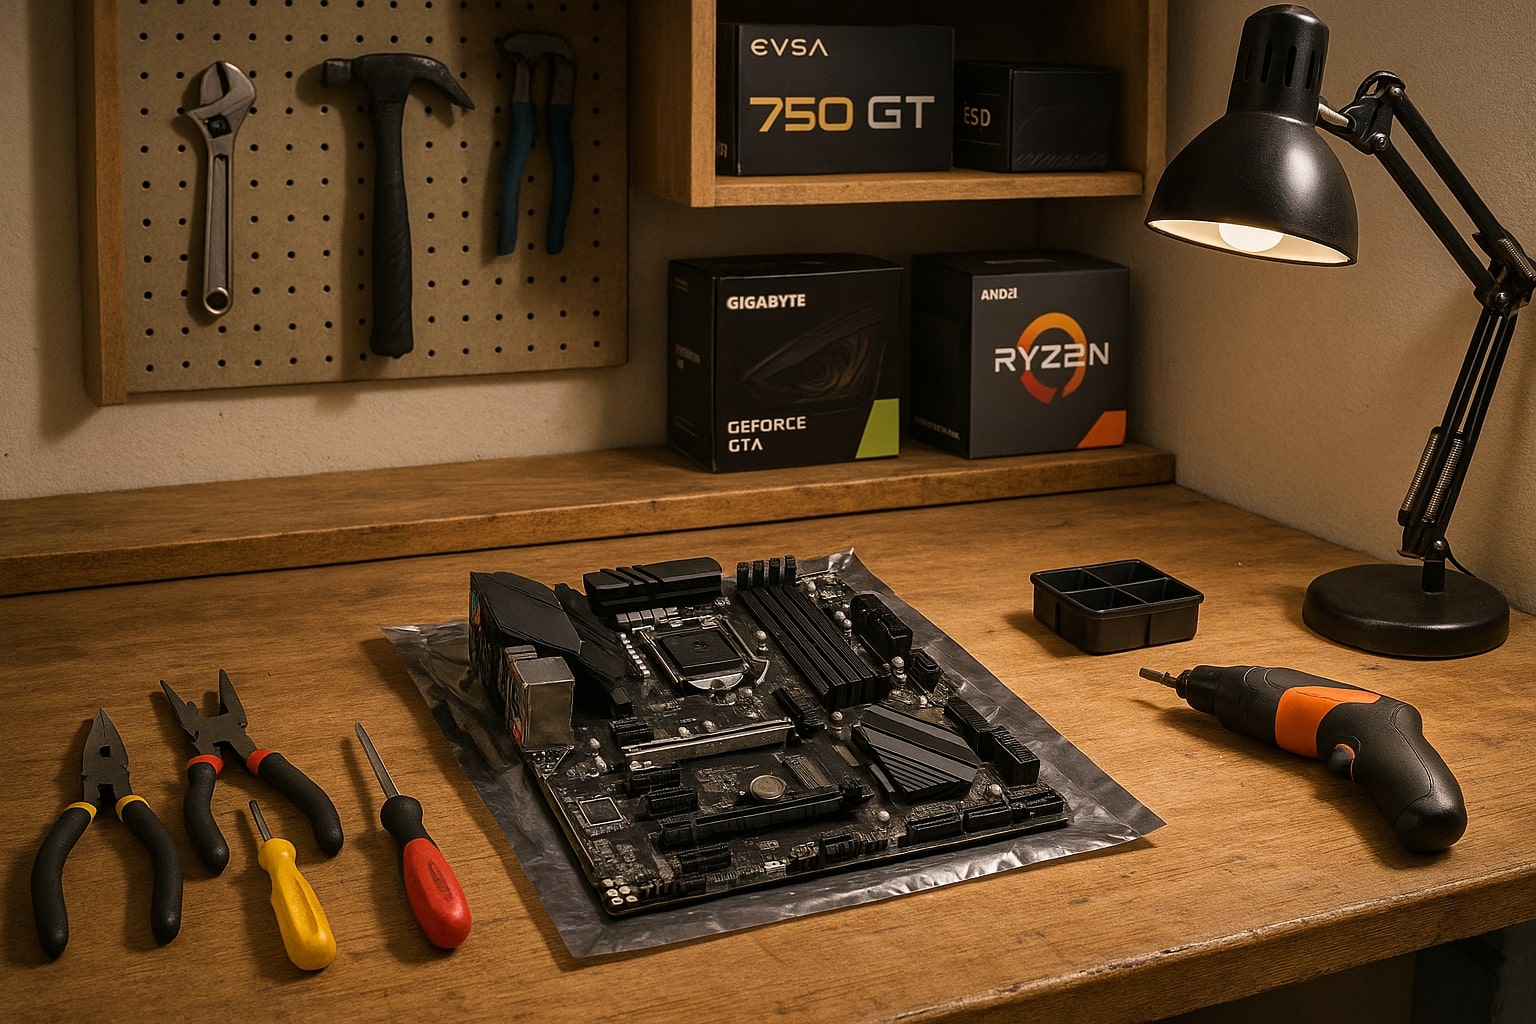
Setting out to build pcs at home offers an engaging and rewarding experience, particularly when you approach the assembly process with a supportive strategy. First, select a workspace that’s well-lit and offers enough room to spread out all your pcs and pc components. Using a static-free surface is highly recommended, as it helps protect sensitive pc parts from electrostatic discharge, which can permanently damage your pcs. Many enthusiasts also benefit from using an anti-static wrist strap, ensuring your touch doesn’t interfere with the components you’ll soon install in your custom gaming pc.
Organisation is key when you want to efficiently build pcs. Arrange your parts and tools before starting, laying out your pc components such as the motherboard, CPU, RAM, and storage in a clear, logical order. It’s wise to keep small screws and fasteners in labelled containers, so you don’t misplace anything mid-build. Preparing your tools, including various screwdrivers suitable for pc assembly, thermal paste for your CPU if it’s not pre-applied, and cable ties for neat management, will prevent interruptions and make the construction seamless.
Many who build pcs at home overlook the value of having a detailed step-by-step checklist, but this simple addition can save you from missing important connections and help ensure all pcs you assemble perform reliably straight away. Regularly referring to manuals for both your components and your specific pc case helps you align with the manufacturer’s recommendations, which is something Ginger6 always advocates to achieve peak performance. Keeping your workspace clean as you go will not only make pcs easier to assemble but also reduces the chance of static or dust interfering with your pc’s longevity.
Finally, patience and attention to detail go a long way. Allocate ample time for every stage, from laying out your pcs to conducting post-build stress testing. With the right preparation, assembling pcs becomes a smooth, enjoyable task, setting you up for the next steps involving component selection and pc assembly. If you ever feel unsure, refer to the extensive library of Ginger6 support resources to ensure your build goes exactly to plan. Now your workspace and tools are set, you’re ready to select high-performance pc hardware for your dream gaming machine.
Selecting High Performance PC Components for Gaming
The right components form the backbone of any custom gaming machine, dictating performance, reliability, and the quality of your gaming experience. Building on a well-prepared workspace, the next logical step is to choose high-performance hardware that aligns with your expectations and future needs. At Ginger6, every custom built pc benefits from a careful selection of gaming-specific parts designed for both speed and stability. From graphics cards and processors to power supplies and memory, picking components that balance compatibility and quality ensures that your pcs not only perform exceptionally but will stand the test of time for countless gaming sessions ahead.
Choosing Quality Hardware for Lasting Reliability
Choosing the right hardware for a custom gaming pc goes far beyond just picking the latest or most expensive parts. At Ginger6, it’s about understanding how each component functions within the system and how their synergy contributes to an outstanding gaming experience. Reliable pcs begin with a premium motherboard that supports the features and future expansion options you need, such as upgraded RAM, additional graphics cards, or faster storage. Always ensure your selected motherboard matches the case form factor and processor socket type, minimising compatibility headaches later on.
Core processing power is another cornerstone for custom built gaming pcs, so opting for a high-performance CPU will play a significant role in load times and in-game responsiveness. Complement this with high-speed RAM, as it supports smooth multitasking and faster data processing vital for intensive gaming scenarios. Don’t overlook the importance of a robust power supply, either, stable voltage and headroom for future upgrades can make or break the longevity of your pcs. Quality power supplies from trusted brands often provide better regulation and last longer under demanding gaming loads.
High-grade graphics cards are at the heart of gaming pcs, driving the latest visuals and supporting advanced graphics settings for a truly immersive experience. Pair your GPU with SSD storage for lightning-fast load times and a reduced risk of data loss. Finally, focus on choosing cooling solutions that prevent overheating, which is one of the top reasons pcs decrease in performance over time. Opt for cases with plenty of airflow, as well as reputable fans or liquid coolers that maintain stable temperatures during those extended gaming marathons.
Ginger6 only uses components from respected manufacturers and puts every part through a rigorous 24-hour stress test before a pcs leaves the workshop. This expertise, built over 22 years of crafting and upgrading custom gaming pcs, helps to guarantee consistent reliability with every build. When you source quality hardware from trusted providers, you put yourself in the best position for lasting performance and fewer headaches down the line. So, when starting your custom gaming journey, choosing robust, tested, and compatible components is a decision that pays off in every game you play. For any questions about selecting or matching hardware, the Ginger6 support team is always just a message away, ready to help guide you towards the right choices for your future build.
Assembling Your Custom Gaming PC Step by Step
With your components selected and workspace ready, it’s time to get hands-on with assembling your bespoke gaming pc. Start by securing your motherboard to the case, ensuring all standoffs align perfectly to avoid short circuits. Next, slot your processor into place – for those using an AMD Ryzen CPU, carefully lift the socket lever and align the markings before gently locking it in. Apply thermal paste if your cpu cooler doesn’t have pre-applied compound, then attach the cpu cooler. Pay close attention to mounting pressure and cooler orientation, as proper seating is vital for optimal heat transfer and longer component life.
Before placing your memory, check which ram slots the motherboard manual recommends filling first for dual-channel performance – often this means skipping a slot between the two sticks. Insert your RAM with an even, firm push until it clicks into place. If your build features liquid cooling, confirm the radiator fits your case and that all hoses and connections are secure. Proper cooling system installation will keep temps stable, whether you’ve opted for traditional fans or advanced liquid setups, helping to safeguard your pc’s performance through long gaming sessions.
Continue by installing your power supply, securing it firmly, and managing cables neatly for improved airflow and easier troubleshooting down the line. Attach storage drives and your graphics card, using the case’s expansion slots, keeping everything tidy and accessible. Double-check all power and data connections before the first boot. Ginger6’s seasoned builders follow this meticulous sequence, stress-testing each custom gaming pc for over 24 hours to ensure reliable play right from day one. If you want lifetime confidence in your own build, take your time at every stage, and never hesitate to consult the Ginger6 team for tailored support and assembly tips.
Building your own custom gaming PC is a rewarding journey, offering both satisfaction and the freedom to tailor your rig to your needs. Whether you're after peak performance, unique aesthetics, or upgradeable components, taking the time to get it right pays off in every gaming session. If you're seeking expert guidance, custom configurations, or lifelong support, Ginger6 is here to help you craft the ultimate gaming machine ready for anything. Start planning your dream build today, contact our friendly team or browse our recommended systems for inspiration.