




Warranty Concerns When Upgrading Prebuilt Gaming PC
Upgrading a prebuilt gaming PC is a smart way to lift frame rates, shorten load times, and keep your rig current without buying a brand new system. It also raises an obvious concern. Do you have warranty concerns when upgrading prebuilt gaming PC? This guide explains how to protect your cover while you improve performance, with practical steps and examples that reflect how Ginger6 supports customers across the UK.
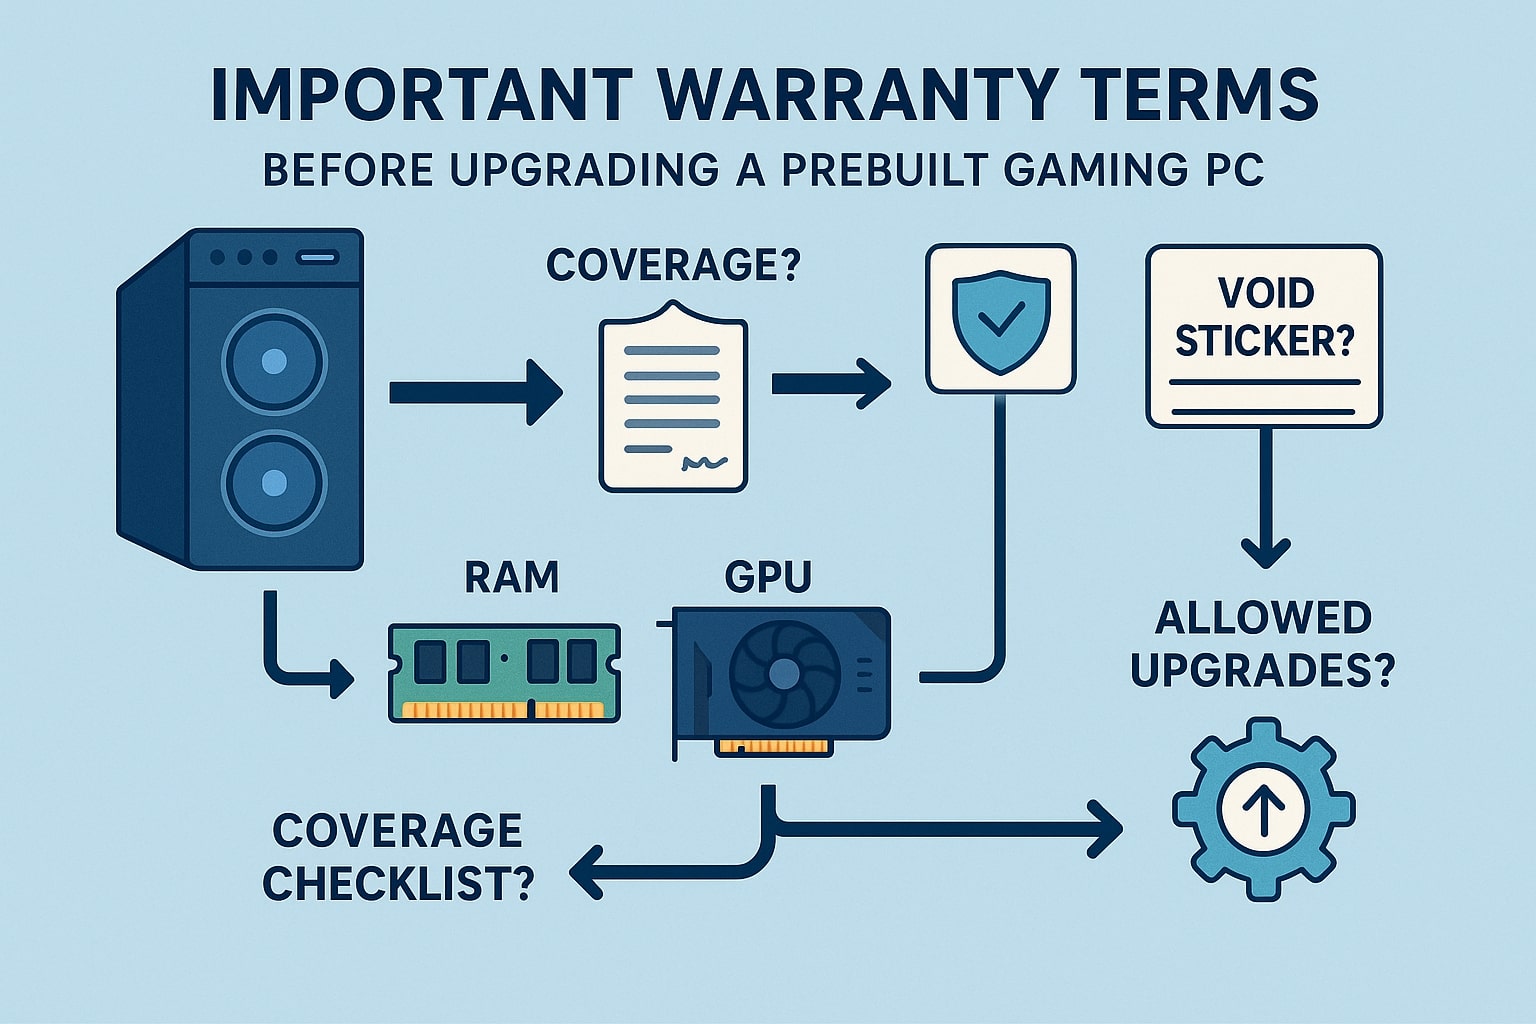
Understanding Warranty Terms Before Upgrading Your Prebuilt Gaming PC
Before making any changes to your prebuilt gaming PC, it’s essential to get familiar with the nuances of your warranty. Not all warranties are created equal, and their specifics can dramatically affect your upgrade journey. Knowing where you stand before upgrading will save you from unexpected costs and disruptions.
From whether modifications are even allowed, to understanding the process for support and returns, getting clarity on these details ensures your hard-earned investment remains as protected as possible. With Ginger6, transparency and expert guidance go hand-in-hand, helping you confidently navigate warranty concerns when upgrading a prebuilt gaming PC.
Best Practices for Upgrading While Retaining Protection
Start with the Paperwork
Before you touch a screwdriver, read the warranty that came with your computer and any separate component guarantees. Terms vary, so you need to know what is allowed and what voids coverage.
What to check first
-
What the standard cover includes. Ginger6 supplies a three-year Bronze warranty as standard. Year one covers parts, labour, and shipping. Years two and three cover labour.
-
What can void your cover? Overclocking, modifications, and removing serial numbers void the warranty.
-
What the warranty actually covers. Operating systems and software issues are not covered. Hardware faults are handled under the warranty, and some manufacturers handle their own repairs directly.
-
Any proof needed? Keep receipts and serial numbers for new parts and save emails that confirm permission to upgrade.
If anything looks vague, contact support and ask for written guidance for the exact change you plan to make. Clear records make future claims straightforward.
How Common Computer Upgrades Affect Coverage
Not all pcs upgrades carry the same risk. Use the notes below as a quick sense check, then confirm details with support.
-
Memory and storage
Adding RAM or an SSD is usually straightforward when parts are compatible. Work carefully and keep your original sticks or drives. Damage caused during installation is not covered. -
Graphics card
This is a higher power, higher heat part. If your case, power supply, or cables are borderline, the change can create knock-on faults. Check power draw and size, confirm that the power supply has the correct connectors, and make sure the card fits without cable strain. -
Power supply
A correctly rated power supply improves stability and leaves headroom for future parts. Installation mistakes can be costly. If you are unsure, ask Ginger6 to handle the work. -
Cooling
Swapping fans is usually simple. Liquid cooling or a new air tower that needs a backplate counts as a more advanced modification. If in doubt, ask first. -
Motherboard
This often sits outside the owner's serviceable scope because it affects every other component. If you want a new board for features or future upgrades, speak to support about the best approach.
What Ginger6 Says about System Upgradability
Ginger6 systems are built with upgradability in mind. You can add more memory or storage and, when the time is right, move to a newer graphics card to keep pace with modern games. For bigger changes, it is sensible to ask Ginger6 for advice or a quote to fit parts for you. That way, your upgrades are recorded, tested, and supported.
Mistakes That Put Your Warranty at Risk
The same avoidable pitfalls appear again and again. Keep these in mind.
-
Working without anti-static precautions. A simple wrist strap and a clean table prevent many faults.
-
Forcing connectors or using the wrong screws. Stop and check the manual if something does not seat cleanly.
-
Breaking or removing labels, then misplacing them. Stickers identify components and show whether a part has been opened.
-
Forgetting to keep the original parts and packaging. You may need to return the system in its original box for diagnosis or future upgrades. Keep everything you remove, including screws and brackets.
-
Shipping a modified system for service without telling support. Always restore the system to the approved state and include your documentation.
Document your work with photos and short notes. If a claim is ever questioned, timestamps and clear images show that you followed best practice.
Best Practice for an Upgrade That Keeps Support Intact
Follow these steps to protect your cover and your investment.
-
List your goals. More frames, quieter running, faster level loads. A short brief helps you choose the right parts.
-
Confirm compatibility. Check case clearance, motherboard support, power requirements, and connectors.
-
Ask for written guidance. Send your plan to support with the parts you intend to use. Keep the reply. Ginger6 can confirm what is allowed and suggest alternatives that maintain cover.
-
Buy from reputable sources. You want valid receipts and serial numbers for registration and returns.
-
Prepare a safe workspace. Good lighting, anti-static protection, a magnetic tray for screws, and the manuals to hand.
-
Install one change at a time. Test after each step so any issues are easy to trace.
-
Record everything. Photos of the inside before and after, a parts list, temperatures, and benchmark notes if you run them.
-
Keep the box and the removed part. If you ever need a return, you can put the system back to stock quickly and send it in safely based on the returns policy.
-
Run a short shakedown. Check thermals, stability, and noise under load. Reseat cables, then tidy with gentle cable management to keep airflow clear.
-
Let the support know if you see anything odd. A quick call or email early often prevents a small issue from becoming a larger one.
Example Scenarios
Adding 32 GB RAM to a prebuilt gaming PC
You pick a kit that matches the motherboard specification and speed. You fit it with anti-static protection, run memory diagnostics, and keep the original sticks in their box. Your system warranty remains in place, and the RAM kit is covered by its own manufacturer's terms.
Adding a second Me SSD
You verify the slot and length, install the drive, and initialise it in the operating system. You keep a photo of the device list that shows the new drive and capacity. No effect on the system cover when fitted correctly.
Upgrading the graphics card
You confirm power supply wattage and connectors, then install the card and the latest drivers. You stress test to verify temperatures and stability. If your power supply is borderline, seek guidance before purchase. Support may advise a higher wattage unit first.
Replacing the power supply
You choose a well-known brand with enough headroom, note every cable route, and avoid mixing old modular cables with the new unit. If you would rather not risk it, book the upgrade through Ginger6.
Changing the motherboard
This usually counts as a major modification. It can affect system serials and support workflows. Speak to Ginger6 first to agree on a path that keeps your cover.
Ready to Upgrade with Confidence
If you want more speed or smoother gameplay but do not want to risk your warranty, talk to the Ginger6 custom PC builder. We will review your goals, confirm what is allowed for your exact build, recommend parts that fit, and, if needed, arrange an approved installation. You can reach the team by phone or email, and you will get friendly guidance from technicians who build systems every day.