




Cable Management Ideas for Custom Builds
A powerful custom PC deserves a tidy setup. Good cable management ideas for custom builds keep your gaming rig cool, quiet and simple to upgrade, while your desk looks sharp rather than tangled. Whether you are buying a full custom system from Ginger6 or planning your own build, a little thought about cables goes a long way.
Below you will find practical cable management ideas for custom builds, how to choose the right hardware, tidy your desk and get help from Ginger6 technicians when you want a professionally built machine that looks as good as it runs.
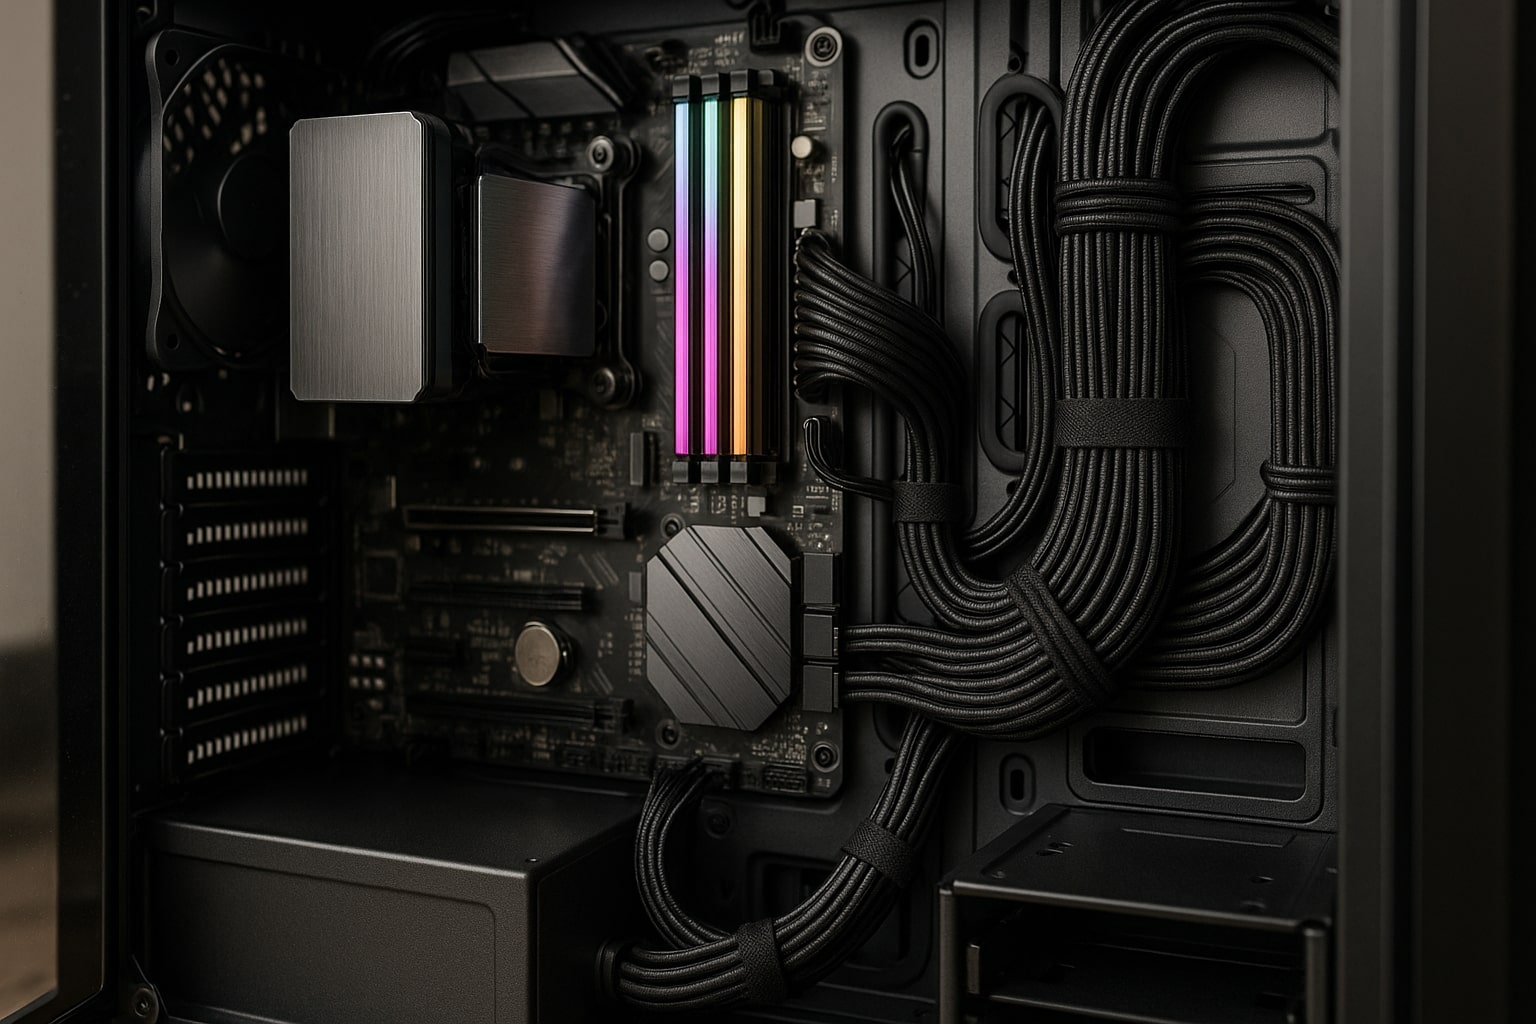
Why Tidy Cables Matter in a Custom PC
A neat interior is not just for show. Smart cable management brings several benefits for any gaming PC or workstation.
Better Airflow and Lower Noise
Loose cables hanging in the middle of the case block the path of cool air. When fans have to work harder, your system can:
-
Run hotter during long gaming or editing sessions
-
Spin fans faster, which raises noise levels
-
Accumulate dust in dead spots where air does not move properly
Routing cables along the sides of the case and behind the motherboard tray helps fans move air in a straight path from intake to exhaust, which keeps components at healthier temperatures and allows quieter fan curves.
Easier Cleaning and Upgrades
When cables are bundled and routed in predictable paths, you can:
-
Remove fans or graphics cards without wrestling with a nest of wires
-
Swap drives or memory quickly
-
Spot loose connections at a glance
This is particularly helpful when you like to refresh your graphics card or storage regularly. A tidy build reduces the chance of snagging a connector or bending pins while you work inside the case.
A Cleaner Look on Your Desk
Most gamers choose a case with a tempered glass side panel because they want to see their hardware. Tangled cables spoil that view. Inside the case, good cable routing makes your RGB lighting, custom cables and cooling loop stand out. Outside the case, a tidy bundle of desk cables means you see more of the desk surface and less clutter around your keyboard and monitor.
At Ginger6, our technicians treat cable routing as part of the build quality, not an extra. Every system is assembled with airflow, maintenance and appearance in mind from the start.
Plan Your Cable Setup before You Build
One of the most helpful cable management ideas for custom builds is simply to plan everything before you pick up a screwdriver. A few minutes of thinking saves a lot of rework later.
Understand Your Case and Motherboard Layout
Open the case and look for:
-
Rubber grommets where cables can pass through
-
Tie down points and Velcro straps behind the motherboard tray
-
Space inside the power supply shroud for spare cables
-
Cut outs near the motherboard connectors for the 24 pin, CPU power and front panel cables
Check your motherboard manual so you know exactly where each header sits. This makes it easier to choose the shortest, straightest path for your cables.
Map Your Major Cable Runs
Before installing components fully, loosely position the main cables:
-
24-pin motherboard power
-
8-pin (or 4+4) CPU power
-
PCIe cables for the graphics card
-
SATA or power leads for SSDs, HDDs and accessories
Run these first and keep them tight to the case edges. Avoid sharp bends near connectors, and use the same route for several cables when possible to reduce clutter.
A simple checklist helps:
-
Decide where each cable will enter and exit the front of the case.
-
Group power supply leads that travel in the same direction.
-
Leave a little slack near components so you can remove parts later without tugging on the power supply.
Useful Tools for Tidier Cabling
A small set of low cost accessories makes a big difference:
-
Velcro straps for reusable bundling
-
Plastic or metal cable combs for keeping custom cables straight
-
Adhesive cable clips for awkward corners inside the case
-
Side cutters for trimming single use zip ties if you choose to use them
With a planned cable setup and the right accessories, most cases allow very tidy routing without much effort.
Hardware Choices That Simplify Cable Management
Picking the right components at the start can remove a lot of cable clutter. Two choices stand out: your power supply and your cables.
Modular PSUs for Fewer Spare Cables
A modular PSU lets you plug in only the PSU cables you actually need. Compared with a non modular power supply that has every lead permanently attached, the benefits are clear:
-
No thick bundle of unused cables to hide in the shroud
-
Cleaner space behind the motherboard tray
-
Easier upgrades, as you can attach one extra modular cable when you add a new drive or GPU
For most custom builds, a fully modular power supply from a recognised brand is ideal. Semi modular units, which keep only the main 24-pin and sometimes CPU cable fixed, are also a good step up from older fixed designs.
When Ginger6 technicians assemble a system, a quality modular PSU is part of the standard approach. It supports stable power delivery and gives much more control over where each modular cable runs.
Custom Cables and Cable Combs
Standard black PSU cables work perfectly well, but custom cables and sleeved extensions can give your build a more distinctive look:
-
Choose colours that match your case, components or RGB theme
-
Use soft, flexible sleeving for smooth curves
-
Pair visible runs with cable combs so each individual wire sits in a neat row
Custom cables are much more than style items. Correct lengths avoid big loops of spare cable, which helps airflow and stops wires pressing against side panels. Quality sleeved cables and extensions also tend to hold their shape better, so once you train them into position they stay there.
If you are unsure which custom cables will fit your power supply, the Ginger6 team can advise, or you can choose a full Ginger6 custom build where cable selection and routing are handled for you.
Small Touches That Keep the Interior Neat
Other hardware choices make cable management more straightforward:
-
Right angled SATA connectors that sit close to the drive
-
Fan hubs or controller boards that gather multiple fan cables into one tidy route
-
ARGB hubs so lighting cables do not run individually across the case
Individually these are small details, but together they create a cleaner, more reliable system.
Desk and Gaming Setup Cable Management Ideas
Taming the cables inside the case is only half the story. A stylish gaming room or office also needs a tidy desk and floor area.
Organise Power and Data under the Desk
Start by deciding where your power strip will live. For most setups, mounting it under the desktop works best. You can then:
-
Use a cable management tray or metal basket to carry the strip and excess cable
-
Run PC, monitor and speaker power leads up to the tray rather than down to the floor
-
Keep bricks for laptops or routers off the carpet where they gather dust
For routing monitor, keyboard and mouse cables, simple accessories help:
-
J-channel cable raceways fixed under the desktop to hide long runs
-
Cable clips along the rear edge of the desk to guide cables down in one place
-
Cable management boxes on top of or under the desk to hide multi-plugs and adaptors
This keeps everything together so only one neat bundle drops from the desk to the PC.
Position Your PC for Tidy Routing
Where the tower sits influences how hard it is to hide cables.
-
Placing the case on a small stand beside the desk gives airflow and keeps dust away from the carpet.
-
Aligning the rear of the case with the back edge of the desk shortens the visible cable run from PC to monitor.
-
If your case has grommets on the top, you can guide some cables straight up to the back of the monitor for a very clean look.
Use reusable Velcro straps to group display, USB and audio cables together. If you often replug peripherals or controllers, keep one accessible USB hub close to hand and route a single cable back to the PC.
Keeping Things Flexible
A neat desk still needs to be practical. When planning your cable management ideas for custom builds and desk setups, think about how you use the space:
-
Leave enough slack in monitor cables for height adjustment or rotation.
-
Avoid pulling cables tight around sharp edges that might pinch them.
-
Keep a couple of spare power and USB connections accessible for phones, controllers or new gear.
The aim is a layout that stays tidy day to day without becoming awkward the moment you need to change something.
Build with Ginger6 for a Tidy Custom PC
You can certainly apply these cable management ideas for custom builds on your own, and many enthusiasts enjoy the process. If you would rather focus on using your system while someone else manages the details, Ginger6 is ready to help.
When you order a custom PC from Ginger6:
-
Technicians plan cable routing as part of the build, not as an afterthought.
-
Modular PSUs, suitable PSU-cables and, where requested, custom-cables are chosen to match your hardware and case.
-
Cables are secured using Velcro straps and tidy channels in the chassis, so airflow is clear and the interior looks sharp through a glass side panel.
-
Desk-friendly advice is available, from the length of HDMI or DisplayPort cables to suggestions on trays and boxes that will suit your workspace.
If you already have a system and want help tidying it, the team can also offer guidance on suitable modular cables, power supply upgrades or simple accessories that will make a difference.
Ready to take your setup from cluttered to clean? Browse Ginger6 custom gaming PCs custom gaming PCs, or contact the team for friendly advice tailored to your hardware, budget and style. Together we can create a PC and desk layout that stays tidy, performs reliably and looks the part whenever someone catches sight of your build.