




Step by Step Intel Gaming PC Build Guide
Building an Intel Gaming PC gives you control over performance, upgrade potential, and long-term reliability. While the process may seem complex at first, breaking it into clear stages makes it far easier to manage. Each decision influences how the system performs, how stable it remains under load, and how flexible it is for future changes. A step by step Intel gaming PC build — or compare with our custom AMD builds guide helps reduce mistakes that often lead to compatibility issues, wasted budget, or performance limitations. Understanding how components work together matters just as much as choosing powerful parts. With the right preparation and a methodical approach, building a gaming PC becomes a structured and rewarding process.
Planning Your Intel Gaming PC Build
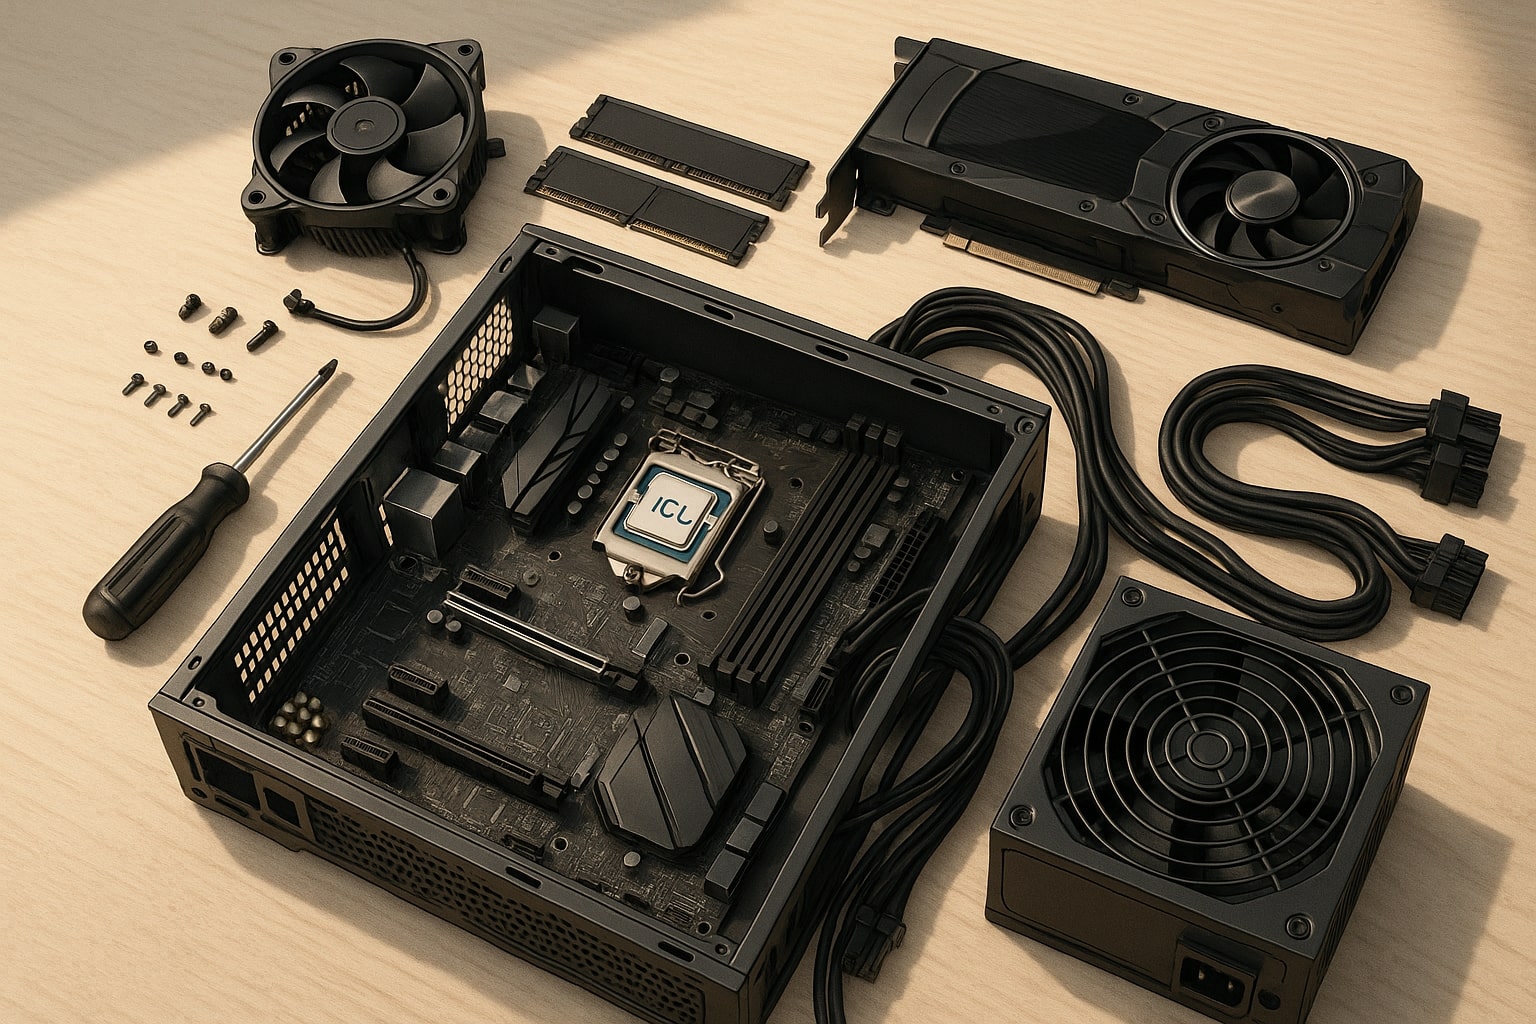
Before any components are purchased, planning sets the foundation for a successful build. Clear goals make it easier to select compatible intel gaming PC parts and avoid unnecessary upgrades later
Start by defining how the gaming PC will be used. Competitive gaming often prioritises high frame rates and low latency, while story-driven or visually rich games place greater demand on the graphics card. Streaming, editing, or multitasking alongside gaming increases CPU and memory requirements.
Budget planning is equally important. Allocating funds evenly across components helps prevent bottlenecks and reduces the risk of performance drops during gaming. Overspending on a single part while cutting corners elsewhere often leads to imbalance and reduced performance.
Key planning considerations
-
Target resolution and refresh rate
-
Types of games played most often
-
Expected lifespan before upgrades
-
Space and airflow limits of the intended PC case
Planning also involves checking compatibility between Intel processors, motherboards, memory, and cooling solutions. Intel platforms change regularly, so confirming socket type and chipset support avoids costly errors later.
Choosing Intel Core Components
The heart of any gaming PC lies in its core components. Selecting parts that complement each other ensures stable performance and smoother installation.
Selecting the Intel processor and motherboard
Intel core processors are available in a wide range of configurations. The right choice depends on workload and performance expectations. High refresh gaming benefits from strong single-thread performance, while streaming and background tasks benefit from additional cores.
Motherboard selection should match both the CPU and intended feature set. Power delivery quality, memory support, expansion slots, and connectivity all influence how the system performs and how easily it can be upgraded.
Memory, graphics, and storage choices
Memory capacity and speed affect responsiveness and multitasking. Using supported memory configurations helps ensure stability at rated speeds.
The video card handles visual workload and should align with resolution and graphical settings. Storage impacts load times and system responsiveness, with solid-state drives providing noticeable benefits for modern games.
Supporting components that matter
-
Power supply capacity and efficiency
-
CPU cooling appropriate for sustained loads
-
PC case airflow and internal layout
Balancing these components avoids instability and allows the system to perform consistently under gaming conditions.
Assembling Your Intel Gaming PC Safely
Once all components are selected, careful assembly protects hardware and reduces the risk of startup problems. Taking a slow and organised approach helps ensure that each part is installed correctly and that potential issues are easier to identify later.
Prepare Your Workspace Before Assembly
Begin by setting up a clean, well-lit workspace with enough room to lay out all components. A static-safe surface is recommended, and grounding yourself before handling parts helps reduce the chance of static damage. Keep screws, brackets, and accessories separated so they are easy to access when needed.
Reading the motherboard manual before starting is strongly recommended. It provides slot layouts, installation order, and connection details that simplify later steps.
Install the CPU and CPU Cooler First
Start with the motherboard placed on a flat surface outside the case. Install the Intel CPU by aligning the markers on the processor and socket, then secure the retention mechanism carefully. Avoid touching the contacts and do not force the CPU into position.
Apply thermal paste following the cooler manufacturer’s guidance, then mount the cpu cooler evenly. Tighten mounting points gradually and in sequence to ensure even pressure across the processor surface.
Fit Memory and Storage Components
Install memory modules into the recommended slots, which are usually highlighted in the motherboard documentation. Press each module firmly until the retaining clips lock into place.
If using NVMe storage, install it at this stage. Securing storage before mounting the motherboard into the case makes installation easier and avoids working in tight spaces later.
Mount the Motherboard Into the Case
Check that the correct standoffs are installed in the case and aligned with the motherboard mounting holes. Carefully lower the motherboard into place and secure it using the provided screws. Tighten screws until secure but avoid overtightening, which can damage the board.
Confirm that no cables or components are trapped beneath the motherboard before continuing.
Power Supply Installation and Cabling
Install the power supply with the fan oriented to support the case airflow design. Connect the main motherboard power cable and CPU power cable first, followed by graphics card and storage power connections.
Route cables through designated channels where possible. Keeping cables tidy improves airflow and makes future maintenance easier.
Cooling Setup and Airflow Direction
Case fans should create a clear airflow path through the system. Front or lower fans typically draw cool air into the case, while rear or upper fans exhaust warm air.
Ensure fan cables are connected to the correct headers and secured away from moving blades. Confirm that the CPU cooler fan is connected to the appropriate header for proper speed control.
Final Checks Before First Power On
Before closing the case, review all connections. Confirm that memory, storage, graphics card, and power cables are fully seated. Check that nothing obstructs fans or airflow paths.
Taking time to perform these checks reduces the chance of boot issues and helps the system start smoothly on the first attempt. A careful assembly process supports stability and makes future upgrades easier to manage.
Testing and Setting Up the System
After assembly, testing confirms that the system operates as expected. Power on the PC and enter firmware settings to verify component detection.
Check CPU recognition, memory capacity, and storage visibility. Firmware settings may need adjustment to enable memory profiles or boot configuration.
Initial system checks
-
Confirm stable idle temperatures
-
Verify fan operation and airflow
-
Ensure storage devices are detected
Once the operating system is installed, drivers should be added carefully. Graphics drivers, chipset support, and system updates improve stability and performance.
Stress testing helps identify issues early. Running controlled CPU and GPU loads highlights cooling effectiveness and system stability before extended gaming use.
Get Help With Building an Intel PC
Building an Intel gaming PC step by step can be highly rewarding, but sourcing compatible parts and assembling them correctly requires experience. When questions arise or stability issues appear, informed guidance helps avoid unnecessary frustration.
Ginger6 is a UK-based custom PC builder that provides advice and aftercare support for gaming PCs supplied by the company. Ginger6 assists customers with component selection, build planning, configuration checks, and understanding how Intel gaming PC parts work together. For those seeking confidence during the build process or support after assembly, Ginger6 offers practical guidance focused on stable, well-balanced gaming systems.