



How to Build a Gaming PC: Step by Step
The short answer: choose eight parts, check they fit each other, and put them together in a set order: processor, memory and drive onto the motherboard, motherboard into the case, then power supply, cables and graphics card. A first build easily takes four hours or more, with one screwdriver. This guide covers the parts, the order and the mistakes, and it is written by people who do it every working day: Ginger6 has built PCs by hand in Wolverhampton since 2001 for customers across the UK.
Three ways to end up with a gaming PC built your way: build it yourself, buy the parts and have us assemble them, or have us supply and build the lot. Call Kevin on 01902 714533 and he will tell you honestly which suits you.
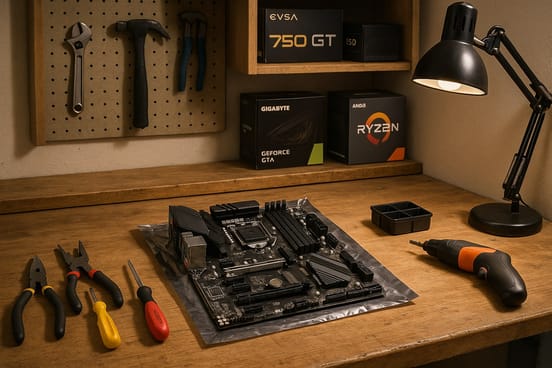
Build It Yourself or Have It Built: the Honest Trade-Off
Buying your own components saves some money and gets you exactly the parts you want. The compromise is the warranty. Know what you are trading before you start.
The hard part of a self-build fault is finding it. A PC refusing to start does not tell you whether the motherboard, the memory or the power supply is to blame. With a complete system from a custom PC builder, it is our job to find out, under the warranty.
What Do You Need to Build a Gaming PC?
Eight gaming PC components, a copy of Windows and one cross-head screwdriver. Treat the table as your checklist for building your own gaming computer. Start with the graphics card, because it decides how games look and run, then choose everything else to match it.
Most PC compatibility problems come from four checks being skipped: socket, memory type, power supply wattage and whether the graphics card and cooler fit the case. If you have a parts list and are not sure of it, send it to Kevin before you order. It costs nothing to ask.
Building a Gaming PC in Twelve Steps
This is how to build a gaming PC in the order we do it in the workshop. Assembling a gaming PC for the first time, beginners do best by following the order exactly. Keep each part’s manual open, the motherboard’s above all: it shows where every cable goes on your particular board.
- 1. Set up the workspace. A clear table in a room with no carpet, good light and the motherboard resting on its own box. Carpet builds up static in you, and static damages parts. Touch a bare metal part of the case before handling anything.
- 2. Fit the processor. Lift the socket lever, line up the corner triangle on the chip with the one on the socket and lower it in. It drops into place under its own weight. Close the lever.
- 3. Fit the memory. With two sticks, most boards want the second and fourth slots from the processor. Check the manual. Press each stick down firmly until both end clips click. It takes more force than feels comfortable, and a stick not pushed fully home is the fault we see most on self-built PCs.
- 4. Fit the drive. Slide the M.2 SSD into the slot nearest the processor at a shallow angle, press it flat and fasten it with its screw or latch.
- 5. Fit the cooler. Peel the plastic film off its base. If no thermal paste is pre-applied, put a pea-sized blob on the middle of the processor. Tighten the screws a little at a time in a cross pattern and plug the fan into the header marked CPU_FAN.
- 6. Plan the cables, then put the motherboard in the case. Before the board goes in, find the small leads from the front of the case (USB, audio, power and reset) and work out where each will run, so they come out behind the tray right beside their sockets. We do this before fitting the board on every build, because once it is in they are far harder to hide. Then check the brass standoffs in the case line up with the holes in the board, with none left over underneath it. Fit the rear port plate first if it is a separate piece, then screw the board down.
- 7. Fit the power supply. Fan facing down if the case has a vent underneath. Screw it to the back of the case.
- 8. Connect the power cables. The wide 24-pin plug to the right-hand edge of the board and the 8-pin processor plug to the top-left corner. The second one is the cable people forget.
- 9. Connect the case cables. Power button, USB and audio leads from the front of the case, and the case fans. The power button plugs are tiny and the manual has the diagram.
- 10. Fit the graphics card. Remove the metal blanking plates behind the top long slot, push the card in until the slot’s clip clicks, screw it to the case and connect its power cable from the power supply.
- 11. Start it up. Plug the monitor into the graphics card, never the motherboard. Switch on and press Delete to open the BIOS. Check the processor, memory and drive are all listed, then turn the memory profile on (XMP on Intel boards, EXPO on AMD).
- 12. Install Windows and drivers. Make a Windows 11 installer on a USB stick with Microsoft’s free tool, start the PC from it, then install the motherboard’s chipset driver and the graphics driver.
Building around an Intel processor? Our step-by-step Intel gaming PC build guide covers the Intel-specific choices.
If the PC does not start, do not panic and do not start swapping parts. Take the memory out and push it back in harder, check both power plugs on the board, and check the monitor is in the graphics card. Those three cover most first-start failures. What to do when they do not is the next section, and it is the part of building a PC most guides leave out.
What If You Build It and It Does Not Start?
Most advice online says build it yourself. It is good advice if you have built a PC before, or if everything works first time. It is not the right advice for most beginners building their first one, and the reason is what happens when it does not work.
Kevin has taught apprentices to build PCs for more than 15 years, and he tells every one of them the same thing: “If you can put a screw in a hole, in theory you can build a PC. The only skill in building is the cable management and making the machine look good. It is when things go wrong that being able to build is not enough. The difference is being able to diagnose the fault and fix it. That is where the real skill is.”
A PC refusing to boot gives you almost no clues. The way to find a faulty part is to swap in one you know is good: another power supply, another stick of memory, another graphics card. A workshop has those on the shelf. You have the eight parts you bought and nothing to test them against, and you have not seen enough dead PCs to know which part to suspect first.
We repair PCs for local customers and we see this often: a first build, brought in because it will not boot. Sometimes a part is faulty. More often it is something small. Either way the owner pays us to find out, because they were not in a position to find out for themselves.
Four questions to answer honestly
- Have you built a PC before? Or watched somebody do it from start to finish?
- Do you know what you would check first if you pressed the button and nothing happened?
- Do you have spare parts to test with, or a friend who does?
- Are you happy to pay for a diagnosis if you get stuck, and then send the faulty part back to whoever sold it?
If the answers are yes, build it and enjoy it. If they are not, have it built. If you are near Wolverhampton and your own build will not start, our PC repair service will find the fault. Diagnosis is charged for.
Common Mistakes When Building a PC
These are the slips we see on self-built PCs brought into the workshop. The first is the one we see most. None of them is stupid, and all of them are easy to make the first time.
Memory Not Pushed Fully In
The one we see most. People are afraid to press hard enough, so the stick is not seated all the way. The PC then throws memory errors or will not boot at all. Press until both clips click shut.
Monitor Plugged Into the Motherboard
The monitor cable goes into the graphics card. In the motherboard socket you get either a blank screen or a PC running games on the weak built-in graphics, with an expensive card doing nothing.
Memory Profile Left Off
New memory runs at a slow default speed until XMP or EXPO is switched on in the BIOS. Plenty of self-built PCs spend their whole lives running slower memory than their owner paid for.
Memory in the Wrong Slots
Two sticks side by side in the first two slots will work, slowly. Most boards need them in the second and fourth slots to run as a matched dual-channel pair. The manual says which.
The Processor Power Cable
The 8-pin plug at the top-left of the board is separate from the big 24-pin one. Leave it out and the fans spin, the lights come on and nothing else happens.
Too Small a Power Supply
A cheap or undersized power supply is the false economy of PC building. It causes restarts under load, and when a poor one fails it takes other parts with it. Buy to the graphics card maker’s recommended wattage, with headroom.
Cable Management for a Gaming PC
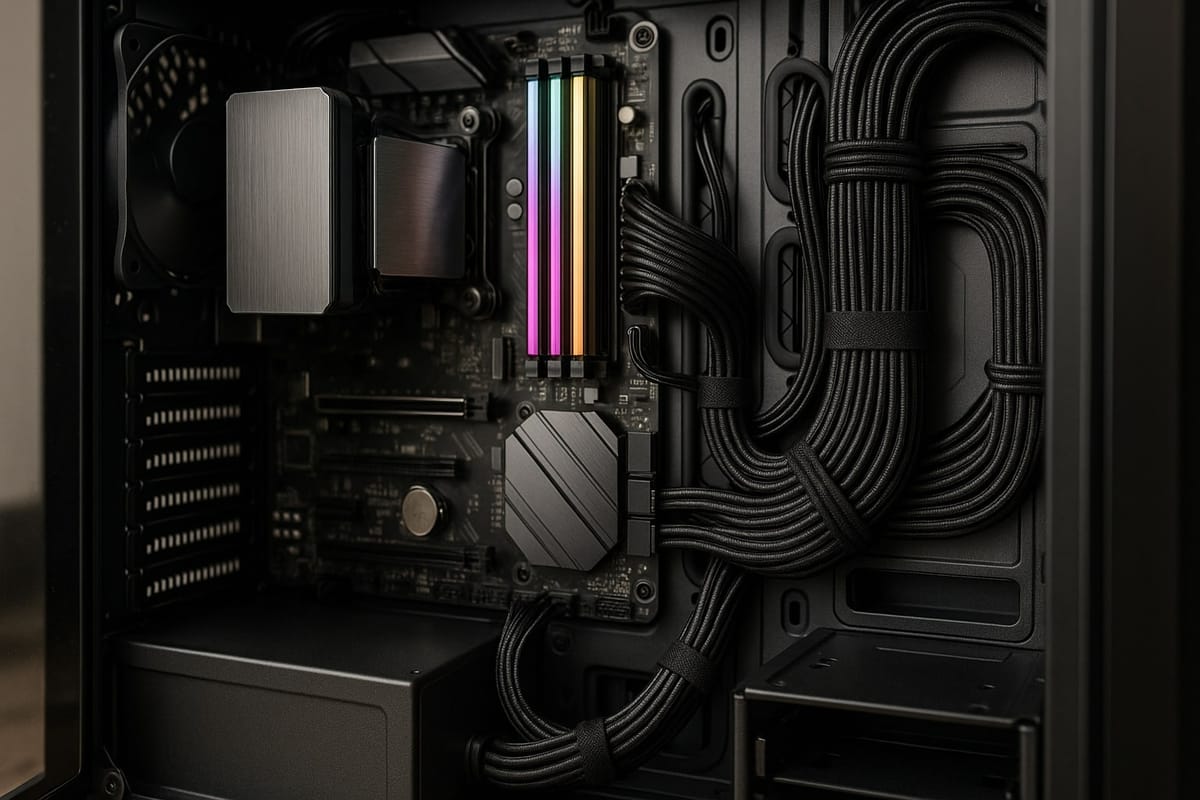
Tidy cabling is not decoration. Loose cables sit in the path of the air, collect dust and make every later job harder. It takes twenty minutes at the end of a build and is the clearest difference between a hobby build and a workshop one.
- Plan the runs first. We think about cable management before the motherboard goes in, and so should you. Look at where each cable starts and ends. Most cases have a gap behind the motherboard tray made for cables.
- Route behind the tray. Feed each cable through the nearest cut-out so only the last few centimetres show at the front.
- Use only the cables you need. A modular power supply lets you leave the spare ones in the box.
- Tie in bundles, loosely. Cable ties or hook-and-loop straps, pulled snug and not tight. Leave enough slack to unplug a part later.
- Keep fans clear. Spin each fan by hand before you close the case. A cable touching a blade ticks, then stops the fan.
Never use a power cable from a different power supply, even if the plug fits. The wiring at the supply end differs between makes, and the wrong cable destroys the part it feeds.
How Long Does It Take, and Is It Cheaper?
How long does it take to build a PC?
For a first build, four hours or more is normal for the hardware, with another hour for Windows, drivers and updates. Add the time spent choosing parts and waiting for them to arrive from different shops, which for most people is the longer job. For comparison, most of our builds take under an hour and the complicated ones a little longer. Then each one runs under load for 24 hours before it leaves, because faults in new parts tend to show under sustained load and not in the first ten minutes.
Is it cheaper to build your own gaming PC?
Usually, by a modest amount. You save the builder’s labour and you shop around for each part. What you give up is covered in the table at the top: one warranty on the whole machine, somebody else checking the parts suit each other, and somebody to ring when it will not start. Whether the saving is worth it depends on how you feel about finding a fault yourself. Our guide to what a gaming PC costs shows what each budget buys.
Three Ways to Get the PC You Want
All three end with a gaming desktop built your way. They differ in who does the work and who stands behind it afterwards.
- Any parts you like
- Lowest cost
- Warranty on each part separately
- You find and prove any fault
- Built by the people who do it daily
- Ask us about your list before buying
- No system warranty from Ginger6
- Fault-finding later is chargeable
- One warranty on the whole system
- Lifetime technical support
- Hand-built in Wolverhampton
- Free UK mainland delivery
Ginger6 has been putting together gaming PCs for players across the UK since 2001. Want to reuse parts from your old PC in a new one? Tell us when you order a custom gaming PC: depending on the part, you send it in and we fit it.
Common Questions About Building a PC
For a first build, allow four hours or more for the hardware, plus about an hour to install Windows, drivers and updates. Choosing the parts and waiting for them to arrive usually takes longer than the build itself. An experienced builder does the hardware in under an hour.
Eight parts: a graphics card, a processor, a motherboard, memory, an SSD, a power supply, a processor cooler and a case. You also need a copy of Windows 11, a USB stick to install it from and one cross-head screwdriver. The processor and motherboard must share the same socket, and the power supply must meet the wattage the graphics card maker recommends.
Putting it together is not hard: the parts only fit one way and nothing needs soldering. The hard part comes if it does not start. Finding a faulty part means swapping in spares you know are good, and a first-time builder has neither the spares nor the experience. If you have never built one, decide what you would do in this case before you buy the parts.
Usually, by a modest amount, because you save the cost of the labour and shop around for each part. What you give up is a single warranty on the whole PC. Each part is covered separately by whoever sold it, and if the PC stops working it is down to you to find out which part is at fault.
The one we see most is memory not pushed fully into its slot, which causes memory errors or a PC refusing to boot. After it: plugging the monitor into the motherboard and not the graphics card, leaving the memory profile switched off in the BIOS, putting two memory sticks in the wrong slots, forgetting the 8-pin processor power cable, and buying too small a power supply.
Yes. We assemble components customers have bought elsewhere. Because we did not supply the parts, we do not warranty the PC as a system: each part stays under its own warranty with its seller. If a fault develops later, we test the PC to find the faulty part and there is a charge for the testing. Call Kevin on 01902 714533 before you buy and he will check your parts list.
A separate warranty on every part, each with the shop or maker you bought it from. Nobody warranties the PC as a whole. If something fails you have to work out which part it is and claim from its seller. A complete Ginger6 system has one 3-year warranty covering the whole PC, so finding the fault is our job.
Build it if you enjoy the work, want parts a builder does not offer, and are comfortable finding a fault yourself. Buy one if you want it tested, covered by one warranty and backed by somebody to phone. Buying your own components saves some money and gets you exactly what you want, and the compromise is the warranty.
Once It Is Up and Running
Keeping a PC Dust Free
How to clean a gaming PC safely once it has been running a while.
Read the GuideRather Have It Built for You?
Tell Kevin your games, your monitor and your budget. He will spec it, build it by hand in Wolverhampton, stress-test it for 24 hours and put one 3-year warranty on the whole PC. The person who sells it is the person who builds it.