




Best Monitor Calibration Tips for Designers
Accurate colour is central to professional design work. A well-calibrated monitor helps you judge tones, contrast and detail with confidence, so what you see on screen matches what clients see on their devices and in print. Understanding how monitor calibration works, and how it connects to your hardware, is one of the most useful skills a designer can learn.
Ginger6 builds Graphic Design PCs UK for designers, photographers and studios, so the team sees every day how a well-chosen monitor, reliable graphics hardware and a sensible calibration routine keep projects running smoothly. Find out more about the best monitor calibration tips for designers and also how important it is to link those practical steps with real search intent and everyday workflows.
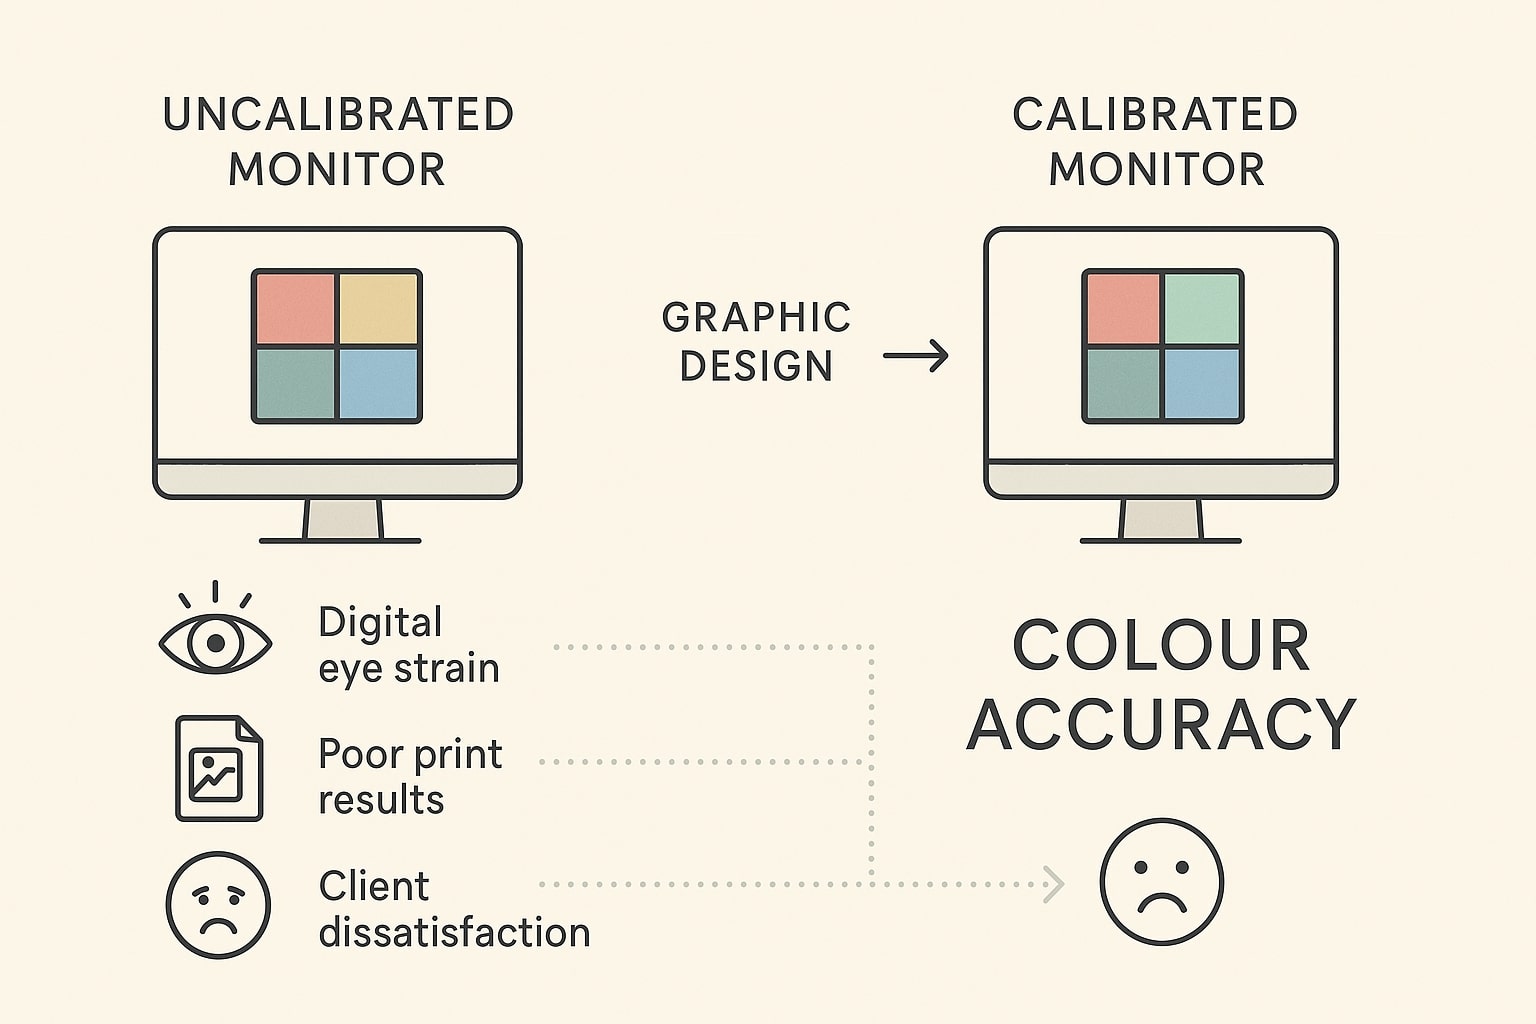
Why Monitor Calibration Matters for Graphic Design
When you are paid for your design work, colour accuracy is not a luxury. It affects how logos reproduce across different media, whether brand palettes look consistent and how photographs print on client presses. A calibrated monitor gives you a trusted reference point so you can make design decisions without second guessing every shade.
Good calibration supports:
-
Consistent brand colour
Logos and brand palettes rely on precise hues. Correct calibration makes it easier to keep colours aligned with style guides in both digital and print environments. -
Reliable print proofing
When your screen is close to the behaviour of a proofing device, soft proofs in Photoshop or InDesign become far more useful and reduce the number of physical proofs you need. -
Smooth collaboration
Teams often share work between several monitors and offices. If everyone keeps to a sensible calibration routine, there are fewer surprises when files move from one workstation to another.
Modern displays can show wide colour spaces such as sRGB and Adobe RGB. Without proper calibration and colour management, that extra gamut can create problems rather than benefits. Neutrals may shift, skin tones can look odd and gradients may show banding. A well-calibrated display makes full use of the panel’s capabilities while keeping output predictable.
How Your Custom-Built PC and Monitor Work Together
Monitor calibration is not only about the screen. The graphics card, drivers and even the way the PC is assembled all influence colour accuracy and stability.
Ginger6 workstations are built with professional design in mind. Quality graphics cards, reliable processors and carefully selected monitors are combined and stress-tested for 24 hours or more before they leave the workshop. This includes checking for colour consistency, stable outputs and smooth behaviour at a range of resolutions.
A solid hardware foundation helps calibration in several ways. The GPU can drive one or more high resolution displays without flicker or colour shifts, while the drivers handle ICC colour profiles correctly so your calibrated result is applied consistently. At the same time, stable power delivery and effective cooling keep performance steady during long sessions, which helps maintain colour and brightness over time.
With that foundation in place, a good calibrator and sensible workflow will give you a monitor that behaves predictably from one project to the next. If you are planning a new design PC or want to run multiple calibrated monitors, talk to Ginger6 about a configuration built specifically for colour-sensitive creative work.
Common Signs Your Monitor Needs Calibration
Even the best display drifts over time. Phosphors age, backlights fade and environments change. Watch for these signs that your monitor calibration is due for a refresh:
-
Prints look darker or lighter than your screen, even after you allow for paper whiteness.
-
The same image looks noticeably different on your main monitor and a secondary screen or laptop.
-
Neutral greys show a tint, often slightly warm or cool, rather than sitting cleanly in the middle.
-
Blacks look washed out and lack detail, or shadows block up quickly.
-
Gradients show visible steps rather than smooth transitions.
-
You notice more headaches or eye strain than usual during long sessions.
If several of these sound familiar, your current profiles and settings probably no longer match the behaviour of the panel. A consistent calibration routine helps you catch these changes early, before they lead to reprints or extra rounds of client feedback.
Best Monitor Calibration Tips for Designers
This is where the practical work begins. The steps below combine monitor calibration software, a suitable calibration tool and sensible studio habits so you can get the most from your display.
1. Choose the Right Calibration Tool
A dedicated monitor calibrator or display calibrator is strongly recommended for professional work. Devices such as Calibrite Display or SpyderX Pro sit on your screen and measure colour output directly, then build an ICC profile that corrects your monitor’s behaviour.
Compared with manual adjustments or simple software sliders, a hardware calibration tool offers:
-
Objective readings rather than judging colour by eye
-
Accurate control of colour temperature and gamma
-
Repeatable results across several monitors
Look for a calibrator that supports wide gamut displays, works with your operating system and integrates well with your design tools If you are unsure, the Ginger6 team can suggest models that pair reliably with your chosen monitors and graphics hardware.
2. Prepare Your Workspace
Before you start the calibration process, prepare your environment so the readings reflect real working conditions:
-
Set up your monitor in its usual position and let it warm up for at least 20 to 30 minutes.
-
Reduce strong ambient light and avoid direct sunlight on the screen. Many calibrators can measure ambient light and suggest appropriate brightness levels.
-
Reset the monitor to factory defaults if previous calibration attempts have made settings unpredictable.
Aim for a comfortable room lighting level you can maintain day to day. Huge changes in brightness or colour from lamps and windows will always affect your perception, even with a perfect profile.
3. Run the Calibration Process
Once your calibrator and environment are ready, follow the steps in the supplied monitor calibration software. Although each tool is slightly different, you will usually:
-
Select your display and choose a target white point, commonly D65.
-
Choose gamma, often 2.2 for general graphic design work.
-
Set a target brightness that suits your print or digital focus.
-
Place the calibrator on the screen where indicated.
-
Let the software cycle through colour patches while the device measures output.
-
Save the resulting ICC profile and set it as the default for that display.
Some tools also create and manage multiple colour profiles, for example one for print work in sRGB or Adobe RGB and another for web-only output.
4. Fine Tune Brightness, Contrast and Presets
After profiling, you can make small adjustments to suit your eyes and workload:
-
Keep brightness high enough to see detail but low enough that white screens do not cause strain. Many designers find values around 80 to 120 cd/m² comfortable for print work, with slightly higher levels for web-only projects.
-
Avoid extreme contrast settings that crush shadows or blow out highlights.
-
If your monitor offers dedicated sRGB or Adobe RGB modes, use them with care and recalibrate within that mode so profiles stay accurate.
Remember that calibration balances technical accuracy with practical comfort. You should feel able to work for long periods without fatigue.
5. Maintain Calibration over Time
Monitors change slowly, so make calibrating part of your routine:
-
Revisit your calibration every month or two for professional use, or at least every quarter for lighter workloads.
-
Recalibrate if you move the monitor into a room with very different lighting.
-
Repeat the process after driver updates, operating system upgrades or major hardware changes.
Regular checks keep colour behaviour predictable and help your profiles remain trustworthy.
Need help choosing a display calibrator or planning profiles for several monitors? Contact Ginger6 for advice based on real world studio setups and current hardware.
Keeping Colours Consistent with Ginger6
Strong calibration depends on suitable hardware as well as good technique. Ginger6 combines both. Every recommended monitor and graphics workstation is chosen with colour accuracy in mind, then tested for at least 24 hours to confirm stable behaviour under load.
When you work with Ginger6 you can expect practical advice on monitor size, resolution and panel type for your style of design, as well as storage layouts and graphics cards that support multiple calibrated displays without strain. The team will help you choose monitor calibration tools that suit your software stack, and offer lifetime UK support for questions about future upgrades and changing workloads.
If you take colour seriously, a well specified custom PC and a consistent calibration routine form a powerful combination. You gain a dependable view of your work, fewer surprises in print and client reviews, and a smoother day in the studio.
Ready to put these monitor calibration tips into practice on hardware built for design? Share your current setup, favourite tools and colour requirements with Ginger6, and the team will recommend a custom PC and monitor combination that supports accurate, comfortable colour work every day.